If you want both amazing performance and superb mileage, then you must get a range AFM disabler. However, installing the device can seem challenging if you don’t have a clear idea of the process.
But we’re here to help with a in-depth step-by-step guide on how to install range AFM disabler. After reading this tutorial, you should be able to install the range AFM disabler in no time, and you will also save some money by avoiding going to the workshop!
What is an AFM Disabler?
The main task of AFM is to increase the automobiles’ mileage by shutting off about half the vehicle’s cylinders. As a result, the AFM is supposed to reduce the consumption of fuel.
Although this mechanism is supposed to reduce fuel consumption by about 5 to 7 percent, users have commonly experienced AFM failures. This creates lots of issues in fuel consumption which is why an AFM disabler has to be installed sometimes. Getting a quality AFM delete programmer for your car can be of immense help.
The AFM disabler won’t let your car automatically shift to 4 cylinder mode, meaning it will keep the AFM technology disabled. Since AFM will be deactivated, you will hear the sound of the super exhaust, which is music to many motorheads’ ears.
How To Set Up Range AFM Disabler
For someone who does not know the steps of installing a range AFM disabler, the process may seem daunting. However, if you know the steps, the installation process is actually surprisingly simple. Read the steps written below properly, and you should be able to set the device up without the help of any professionals.
Step 1: Plug The Range AFM Disabler In
The very first thing you will have to do when installing the AFM disabler is ensure that the engine is off. Therefore, switch off your engine first; this is a must for safety purposes.
Next, you will have to find the OBD-II port. You should find the OBD-II port below the dashboard of your vehicle. To be more precise, it should be under the steering box.
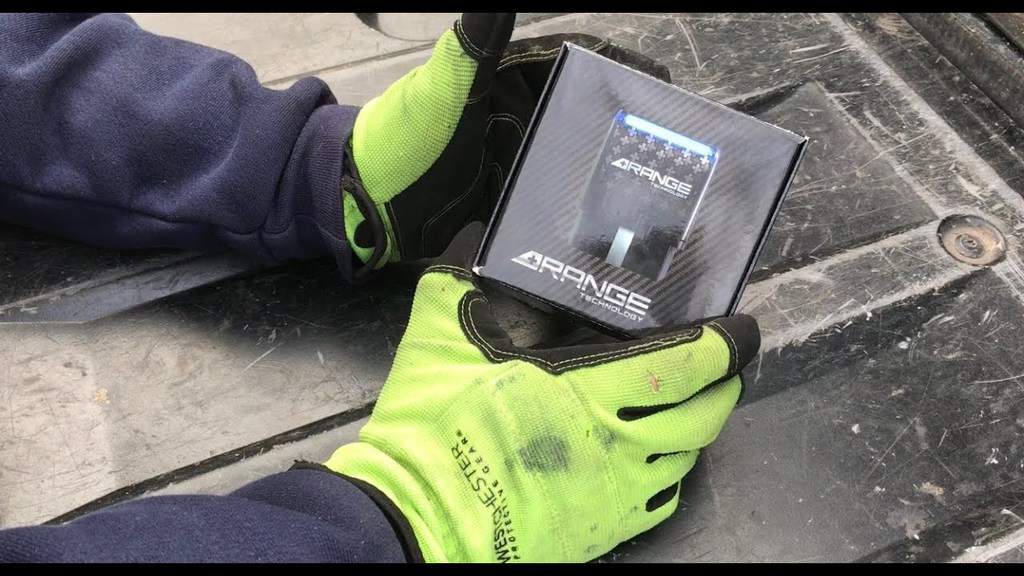
After you have located the port, take your range AFM disabler and simply plug it into the port.
Step 2: Check if the Blue Light is On
When you are sure that you have been able to snap the range AFM disabler securely into the place, check if the blue light has been turned on. If the blue light is on, then this is a sign that the disabler is successfully connected to your car.
However, if you see that the blue light is still off, you should open the device from the port and reconnect it. Even then, if the blue light is off, you will have to check whether the OBD-II fuse has been blown or not. If the fuse is not okay, you will have to get it replaced for the device to work.
Step 3: Take Your Car Out For a Spin
Just to ensure that the range AFM disabler is doing its job correctly, start your vehicle and go for a test ride. On your test ride, you will be able to tell automatically the difference if the device is working properly or not.
Additional Tips For Range FM Disabler
If you are someone who doesn’t take out their car almost every other day, and will probably have their car lying in the garage for days, then unplug the range AFM disabler. This will help by giving the device a longer lifetime.
In addition to that, if you’re taking your vehicle to the workshop to get it checked, then you should also unplug the range AFM disabler. This is because the professional worker will have to plug in a scanning tool into the OBD-II port to run some diagnostics. Therefore, if you unplug the device earlier, you just save the mechanic some extra unnecessary work.
Final Words
After reading this detailed guide on how to install a range AFM disabler, you should be able to do the installation on your own within just a few minutes. As you can see, this process is simple and easy and can save your car from some damage. Follow all our steps carefully, and listen to the tips we have given about safety and longevity, and you won’t have to worry about any fuel consumption issues caused by AFM.