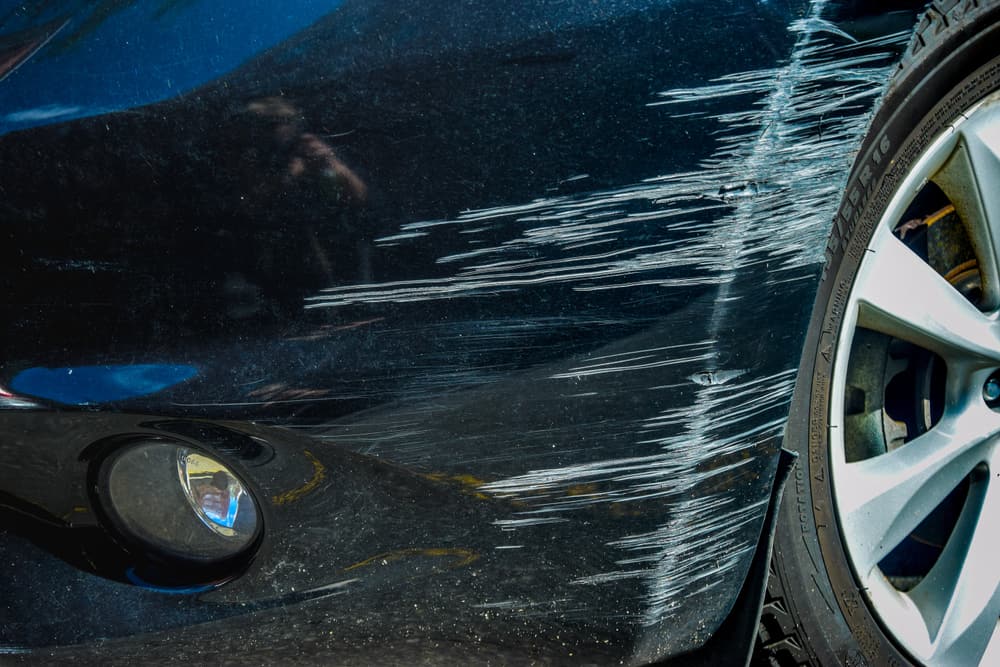
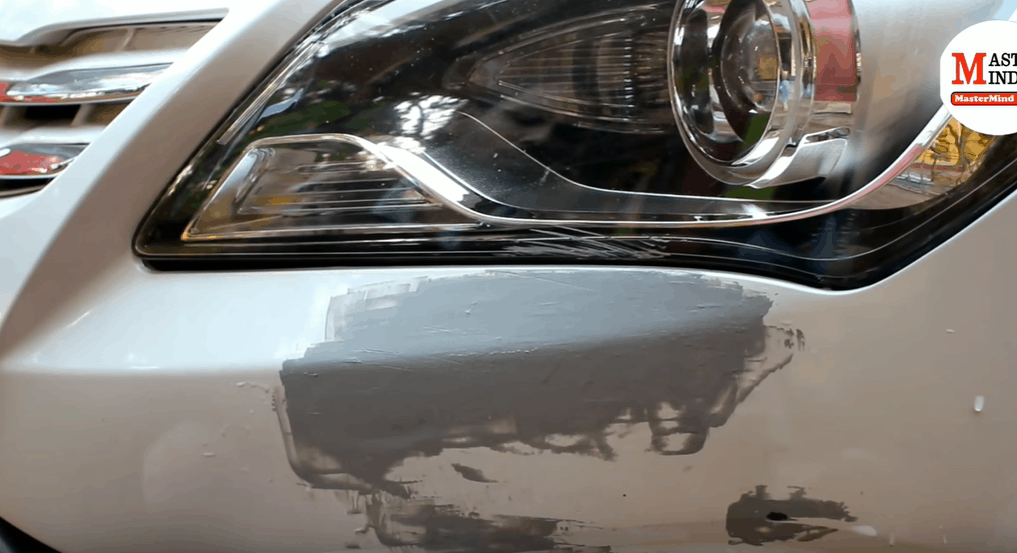
Imagine you get home from work, park your car in the garage, then you notice a deep car scratch down to the metal of your vehicle. No, it is not a dream, day ruined.
You are upset because you know without having to do any calculations that it will be difficult to cover up such a deep scratch. Luckily, you don’t have to worry, as we will show you some quick tips on how to remove deep scratch from car at home.
How to Remove Deep Scratch from a Car
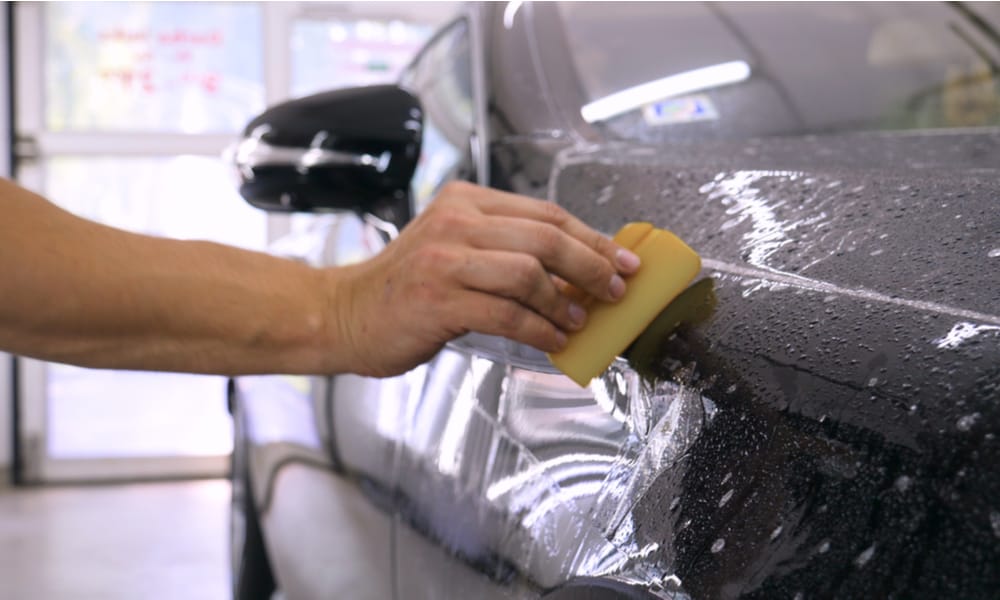
1. Clean and Allow Affected Area to Dry
Make sure to wash and dry the affected area before attempting to fix a scratch on the body of the car. Use a hose to spray water gently on the scratch, once you get it clean, dry off with a clean microfiber cloth.
This step is essential because if you start polishing without making the area clean, the dirt would spread and make the scratch worse.
Do not use ordinary dish soap to clean the car. The reason is that such soaps contain strong de-greasers that can erode the protective sealant away from the car clear coat.
2. Get a Repair Kit from the Auto Repair Shop
There are numerous scratch repair products in the market. They help carter to vehicle owners seeking to repair minor cosmetic issues on their cars quickly.
These kits contain all that you would need to polish out scratches under few minutes, which includes a fluffy buff pad and liquid removing polish. The complete repair kit should cost about $10-$20 on average.
Car body care experts highly recommend products like Meguiar G17216 Ultimate Compound and 3M Scuff. But if you don’t like any, you can opt for the deep scratch repair kit autozone products.
However, whichever you want to buy always go for the best car scratch remover on the market. The use of these products is to clean off severe and mild scratches from the clear coat. Hence, the best remedy on how to remove deep scratches from cars does not necessarily have to be the most expensive
3. Put A Little Quantity of the Scratch Remover on the Impaired Area

Apply the polish to your buff pad or on a clean microfiber rag. It is better not to apply directly to the car. Doing this would reduce the mess and allow you to use the right quantity.
Buff pads are of different sizes, texture, and shape. You are free to source for another one if you do not like the one that comes with your scratch repair kit. Ensure to read the instructions on the deep scratch kit carefully to know the right quantity to use.
4. Rub the Remover by Using the Buff Pad
Rub the affected area very well using a buffing pad in a tight, smooth circles from one end to another. The aim is to knead the polish well on scratch.
By doing this, the small abrasive particles that the removers contain would help break down the rough, uneven edges and give a more even surface. Buff until the polish is no longer visible on the car surface.
After some minutes of buffing, gently wipe off any leftover scratch remover. This will give you a more unobstructed view of the scratch to determine if it needs further attention.
5. Check the Scratch and Redo if Necessary
If the once visible scratch is no longer conspicuous, congratulations, your work is done. However, if it is still apparent, apply a small quantity of polish and buff the spot again. It would work well for moderate scratches that do not get to the paint job of the car.
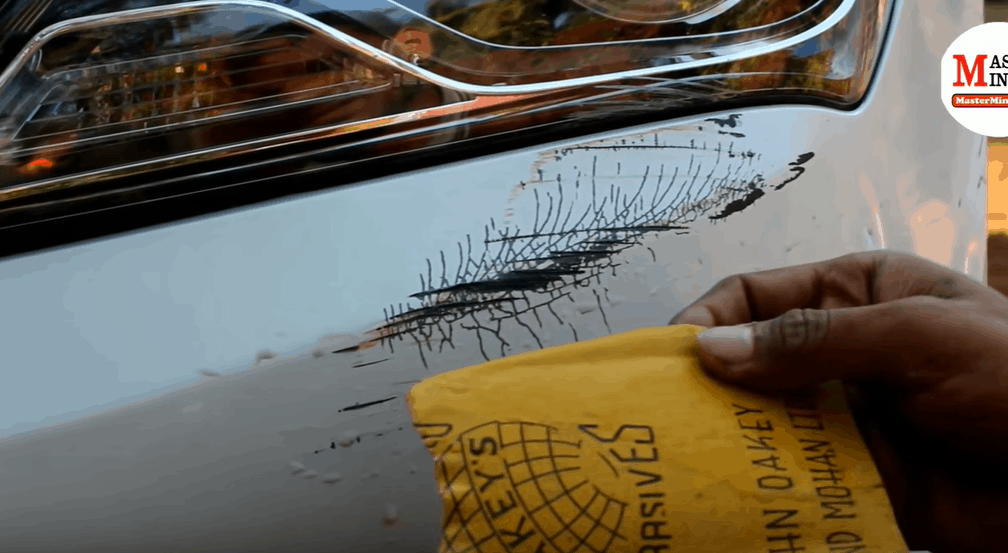
6. Cleanse the Scratch by Applying Alcohol

Take a sponge or a soft clean cloth and soak with alcohol. Use this to rub all over the scratch and areas surrounding it. It is better to work on a clean surface to ensure that dirt does not get inside the repair materials.
Wash your car before starting this step, especially if you just recently waxed or resealed your vehicle.
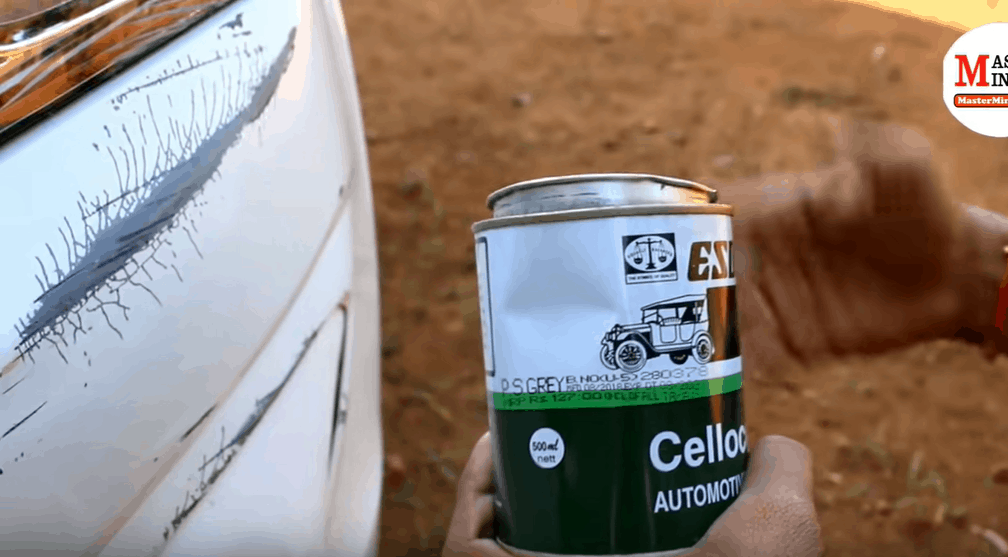
7. Use a Smooth Putty to Fill Up the Scratches
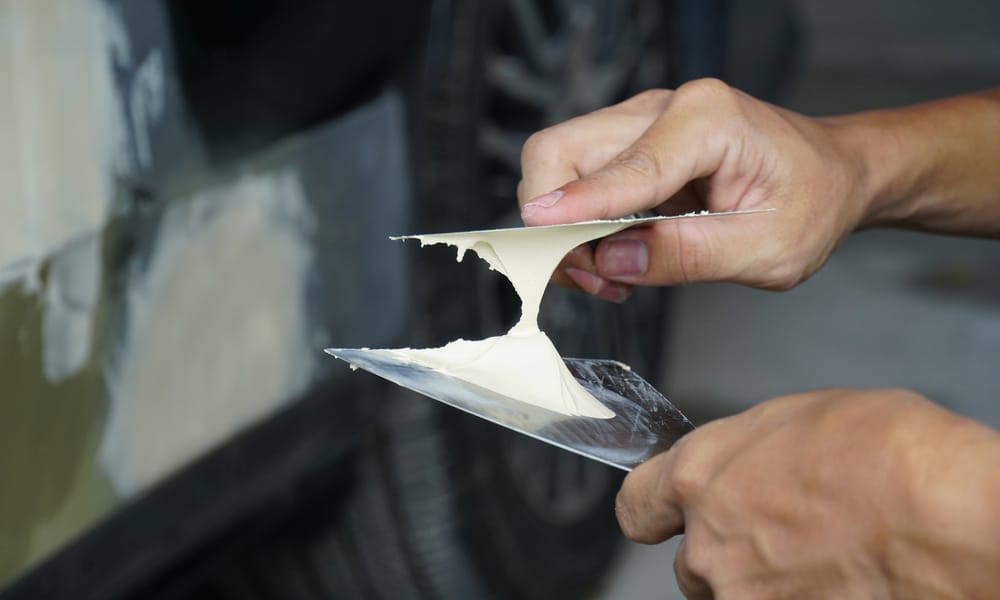
Squeeze out a pint-size drop of putty on the finish near the impaired area, and then make use of a spreader tool or tiny hand squeegee to extend the putty inside the gouge.
The putty will help to increase the deep cavity from inside, thereby restoring it into its original state. You can jump straight and apply touch up paint if the car scratch isn’t down to the metal.
Allow the putty to cure for about 2 to 3 minutes. Allowing the putty to cure makes it hard while in the scratch. Try not to touch the putty or any area of the scratch.
Clean the scratch with a liquid paint leveler; this helps to get rid of the excess potty. Add 1 to 2 liquid ounces (30 to 59mL) of the paint leveler on a clean cloth or towel.
Rub the towel sideways over the recently resurfaced scratch using mild pressure. Keep cleaning until the scratch looks like a faint colored line, and the surrounding area is clean.
8. Paint the Repaired Scratches
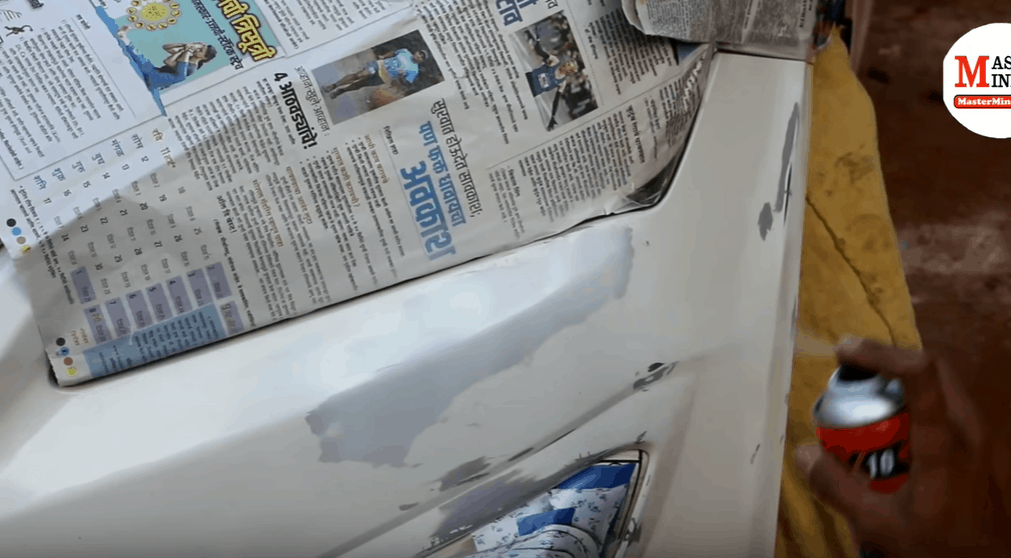
Use a fine end brush to apply a slender range of paint to touch up the area. Use the brush tip and apply the paint gently on the gouge instead of wiping or brushing over it. Target a thin, light coat and move the brush smoothly while making sure you covered the entire scratch well.
Allow the paint to sit and dry for about 8 to 12 hours. A lot of touch up paints dries up in a few hours. You can also allow it to stay overnight so as for it to set well. Try not to make amendments or touch the paint while it dries.
If there is visible damage under the initial coat of paint, you are free to add an extra 1 to 2 thin layers to round up the job. Most importantly, to get the best results use a minimum of 2 coats to cover deep scratches completely.
9. Use Clear Coat Applicator to Cover Up the Painted Scratch
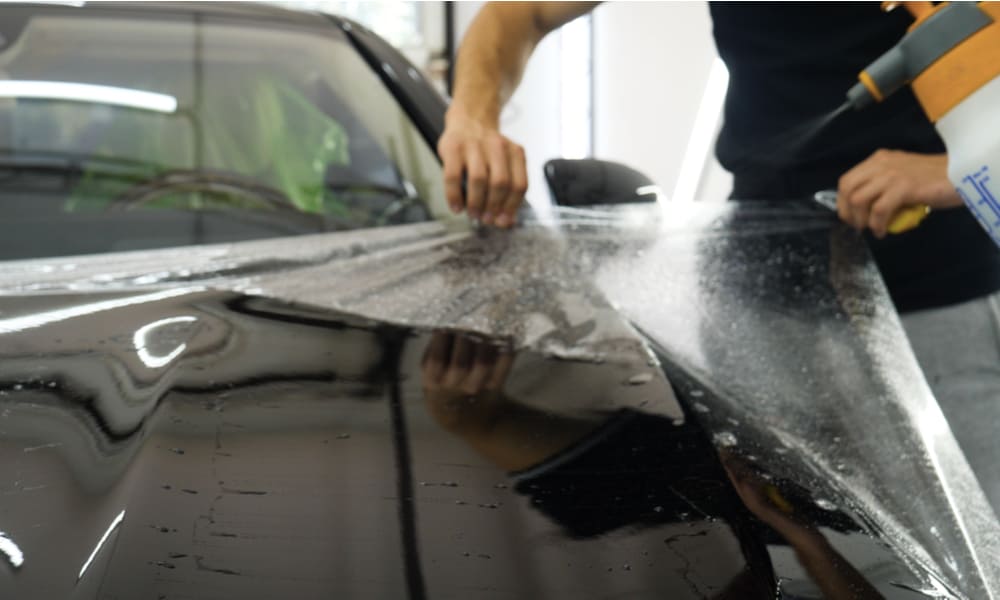
Slide the pointed end of the applicator pen through the entire length of the paint. This helps to gently cover the paint line with an evenly thin film of sealant.
Try to be gentle and not press down very hard so as not to mistakenly shave off some of the applied paint. Allow the clear coat to sit and dry overnight or for a minimum of 8 hours.
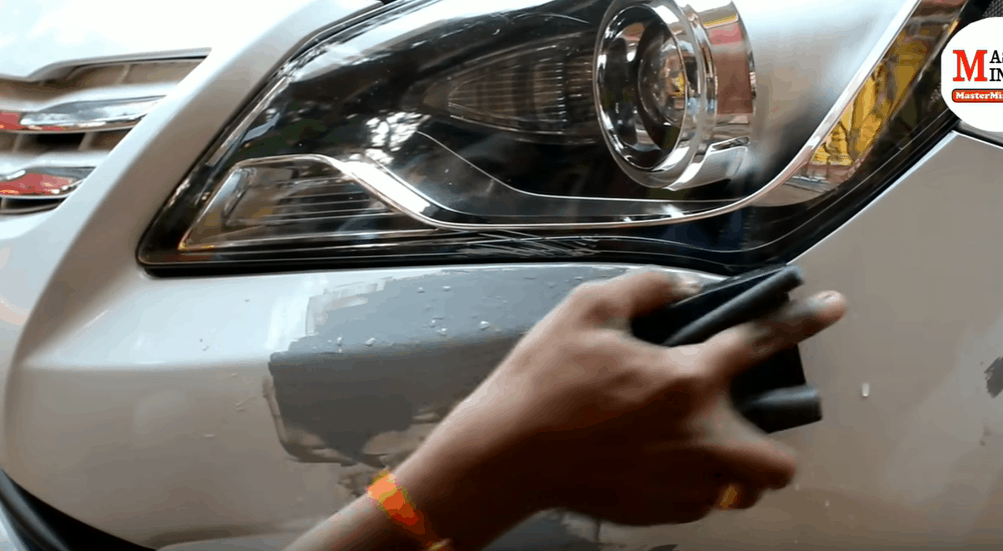
10. Wet Sand the Amended Scratch
Take damp or dry sandpaper and wet with water, run along the ridge that was caused by the sealant. Use minimal pressure so as not to remove the excess amount of clear coat. Do this until the affected area mixes well with the surrounding area.
The use of the wet sand method is better in detailing jobs. Use a backing block to make it easier to grip.
Wrap Up
Removing mild or deep scratches from the body of your car doesn’t have to be an uphill task. All need do is to follow the above mentioned easy home remedies, and you are good to go. If you’re looking for ways on how to remove deep car scratch from a white car, you can also use the guide above.
Remember the necessary steps to get rid of scratches are,
- Clean the affected area
- Use a scratch remover
- Clean the area with alcohol
- Touch up the paint
- Apply a sealant
- Wet sand the area
Do you have a contribution on how to remove deep scratch from cars, or do you have a question on how to remove deep scratches from cars using home remedies? Kindly drop a comment.