If you own a vehicle, it’s reasonable for you to change the battery, particularly after years of use. After all, it loses its ability to power the car. Besides, it might become swollen and harm the engine itself.
Luckily, this scenario happens with expendable batteries that have poor features. If you use an excellent but weakened cell, you can use a simple technique to restore it to its original state.
Known as reconditioning, this method involves various steps that you can use in your home. If you want to know how to recondition a car battery, this post will offer you tip for this task.
How to Recondition a Battery for Your Vehicle
Learning how to recondition a car battery that won’t hold charge does not demand much effort. It almost has the same steps as to how to recondition a sealed car battery.
Since these products come in large sizes, you won’t spend hours squinting at its components. Besides, every store stocks the items needed for this project.
If carried out properly, reconditioning can increase the lifespan of the unit. However, expect the battery to offer around 80% of its original efficiency. Now let’s find out the materials that you will use to learn how to recondition batteries at home.
Required Items for Reconditioning Your Vehicle
- Protective clothing that includes safety eyewear and gloves
- An apron or another set of clothes to catch spills
- A working battery charger
- Voltmeter
- A regular tool kit that consists of a screwdriver
- Plastic funnel
- Two buckets made from plastic
- A container of distilled water
- Some Epsom salt
- Some baking soda
- Steel wool/Wire Sponge
- An old toothbrush
- Battery load tester (not required)
How to Recondition a Car Battery in Your Home
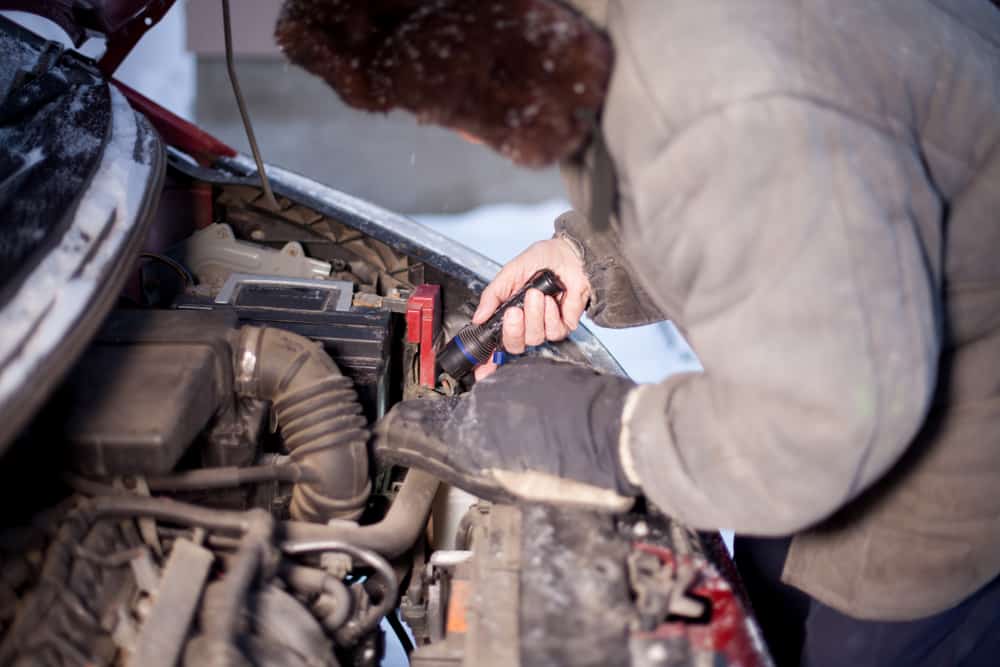
1. Clean Out the Car Battery
Remove any dirt on the car battery. You can start by heading to the posts and checking for signs of rust. As various brands have cells of different sizes, try to know every part of the unit.
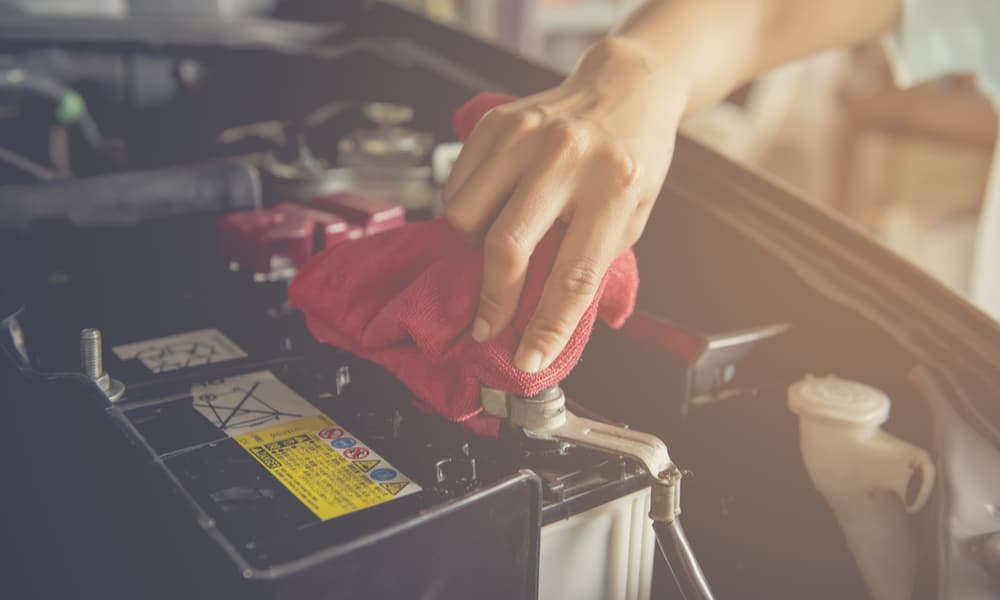
If you find any corrosion on the posts, dip the steel wool in a baking soda solution and clean the components. To prepare the mixture, add some distilled water to the soda. Continue mixing the ingredients until they form a drippy paste.
Whip out the toothbrush to scrub out the posts on the battery. For tough stains, use steel wool. During the cleaning, you might notice excess foam caused by specific chemical reactions. If you have this issue, do not worry as its perfectly harmless.
Round up by applying the baking soda solution. Don’t forget to clean out the moisture and leave the unit to dry.
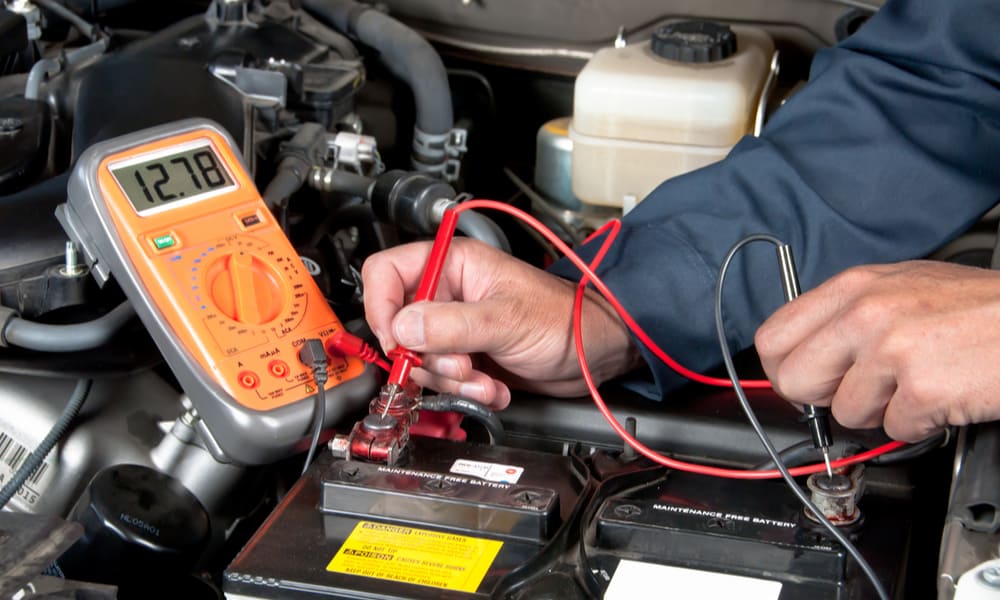
2. Determine the Voltage of the Battery
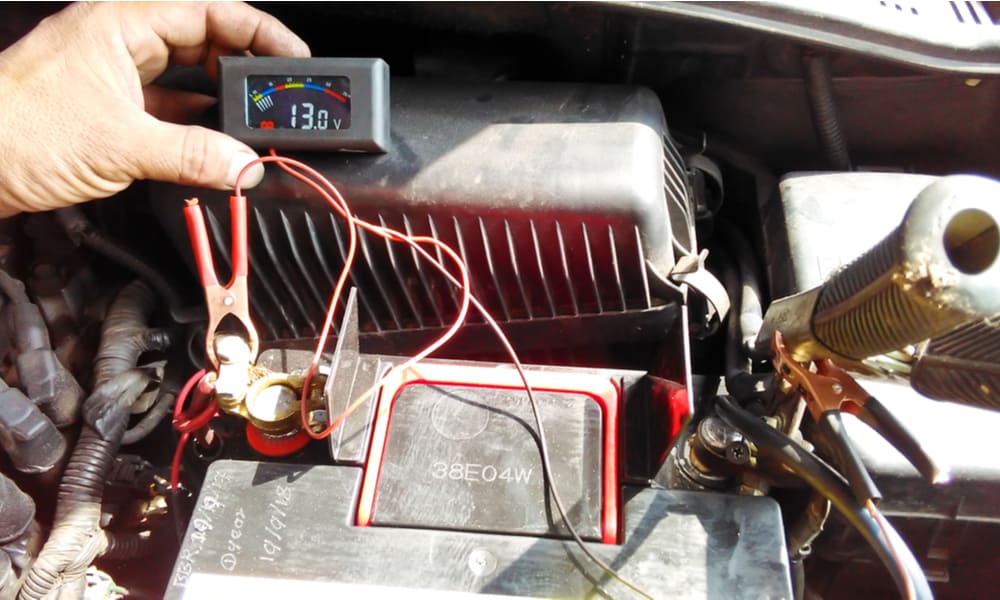
Use a voltmeter to confirm the voltage supplied by the battery of your car. Fortunately, anyone interested in learning how to recondition a car battery can operate this tool. Moreover, you can get it at an affordable price at the local hardware store.
Begin by taking the voltmeter and placing it on the terminals. If you have a reading less than 12.6v, consider working on the battery. However, if the tool measures 0 volts, swap the current battery for a new one.
3. Pour out the Contents of the Car Battery
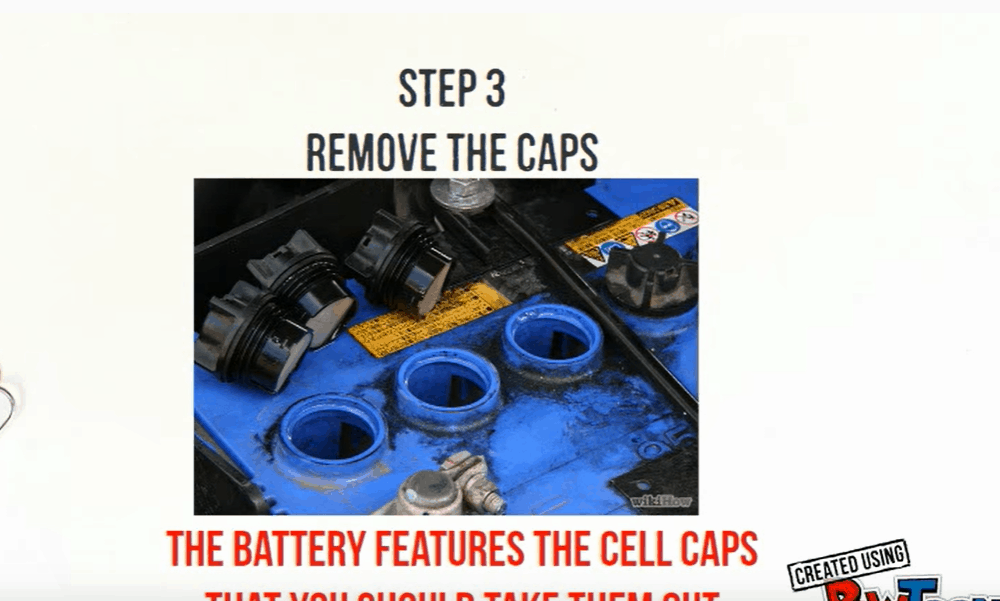
At this stage of knowing how to recondition a car battery, you will have to use protective clothing that consists of the extra clothing and goggles. Remember to wear safety gloves that can withstand potential spills from hazardous liquids.
Place a screwdriver under the caps to pry them open. For easy retrieval, place them in a safe place.
Next, get the plastic bucket and set it close to the cell. Gently tip the car battery from your body and dump its liquid into the container. Do not rush the process as acid spills can damage your skin.
As soon as the battery becomes empty, return it to its original position. Now, measure some baking soda and toss it into the bucket of acid. Since you want to neutralize the liquid, half a pound of the powder should do.
4. Remove the Dirt from the Cells
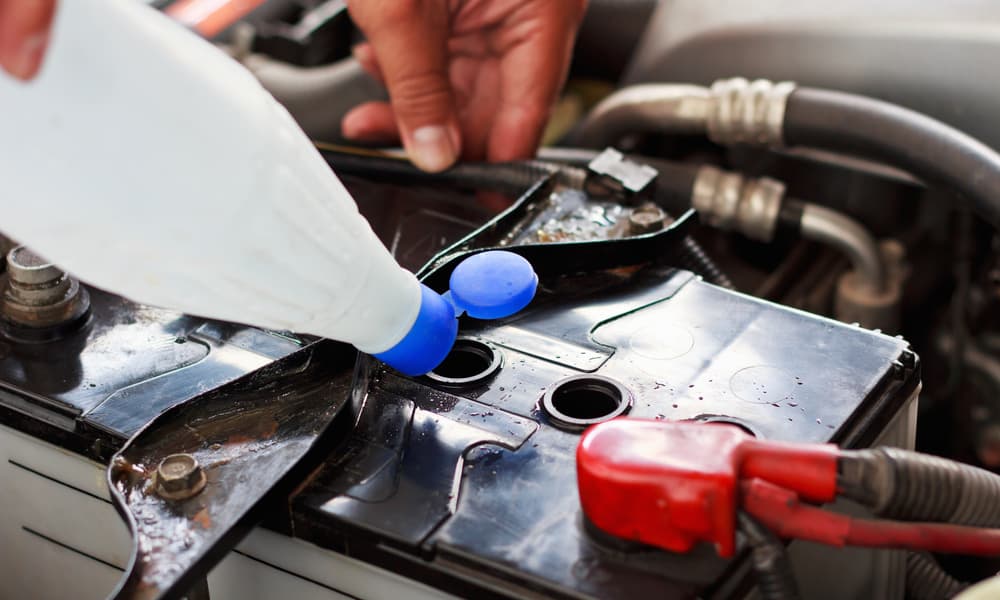
Prepare another baking soda and distilled water solutions. But this time, use about half a gallon of water to mix the powder.
Toss in the solution with a plastic funnel and replace the battery caps. Then, clean the battery by shaking it around for a couple of minutes. Finally, remove the caps and dump the used solution into the plastic bucket.
5. Charge the Cleaned Battery
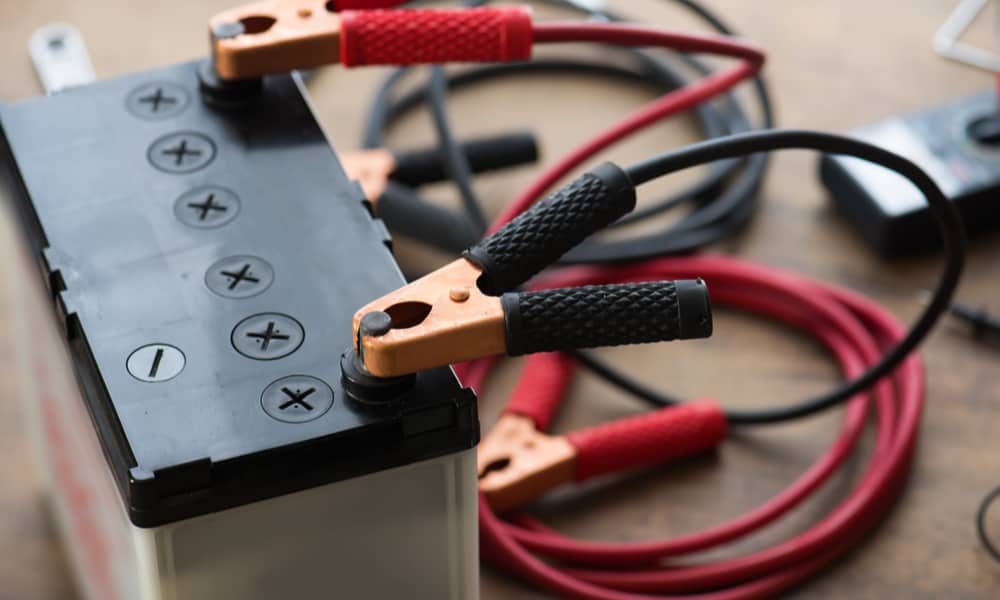
Pry out the caps of the battery. If you miss this step, the battery liquid might heat up and spill out of the unit. Besides, the resulting pressure can lead to severe accidents.
Next, look for the farthest possible distance from the battery and place the charger on that spot. Then, attach the positive lead of the charger to the positive battery terminal. Repeat the process with a negative point and terminal.
Do not rush the charging process and bother about looking for “battery reconditioning charger how long” on the internet.” Most experts in the battery reconditioning business even advise that you allow the unit to rest for 36 hours. After this period, you can decide to test the battery.
6. Test the Reconditioned Battery
Measure the battery voltage with a voltmeter. If you detect readings of at least 12.43v, then the battery has passed the test, but if you have a lesser value, do not stop charging. Moreover, if the unit has spilled, add some electrolyte and charge for an extra 12 hours.
You can check the status of the cell with a battery load tester. It’s also possible to use a voltmeter for this task. If you prefer the latter option, screw in the caps of the battery and connect it to the vehicle. Turn on the fog lamps, but do not start the car.
Leave the lights on for a few minutes then use the voltmeter to take a reading. A well-reconditioned battery measures at least 9.6v while a lesser reading means that you will have to work on the battery again.
You could also use the cycle treatment for the battery, notably if it offers a voltage or 9.6v or fails the test. But you have to discharge and recharge energy repeatedly to use this method.
Cycling involves placing the unit under load with activities such as switch on the fog lights for a while. After a couple of minutes, detach the battery from the car and perform the steps again.
Before getting a favorable reading of 9.6v, particularly under load, you might have to cycle the battery for at least four times.
If you complete the process, the unit will become healthy and perform efficiently. By using the above tips, I have found out that it’s possible to recondition car battery near me.
Wrap Up on How to Recondition a Car Battery
Knowing how to recondition a car battery comes as an easy task. However, it might take a couple of hours as it might involve the cycle treatment.
It would also be helpful if you knew your way around batteries. Luckily, we have provided how to recondition a car battery YouTube video you can use to get this done. Hence, follow the procedure provided in our guide or watch the video to get more insight. Good luck!!!